Funny story – the last time I hosted our book club meeting (about 6 months ago) I was sitting on my couch relaxing after a long Friday when my calendar notified me that I had something scheduled. I glanced at my phone calendar and promptly freaked out because I was hosting book club at my house in 10 minutes and there was kid shrapnel everywhere in the house, I didn’t have snacks ready, and I definitely hadn’t made a dessert. Yikes! While my family and I ran around like crazy people trying to pick up everything that was laying around we formulated a plan for dessert. My family would run to the specialty cookie bakery and just pick up a dozen cookies for us to sample. Shockingly, we were able to pull off the clean house and the cookie sampling.
Fast forward to about 6 months later. This time I put the cheesecake baking in my phone for the day before book club since I knew with a full day of parent/teacher conferences I would not be baking a cheesecake earlier in the day. Granted, this baking session did not go off without a hitch but our slight hiccup didn’t create too many problems. What hiccup, you ask? Oh, just the one of our dog eating an entire block of cream cheese off the farthest part of the counter while it was coming to room temperature as I ran to a college fair with our high schooler and my husband picked up the girl from soccer practice. Yep, only about 5 minutes and the entire block was gone. Of course, I didn’t realize it until after I had baked the crust, diced and cinnamoned the apples, and started mixing the cream cheese batter together. Thankfully I had an extra block of cream cheese and microwaves work wonders for bringing things to room temperature quickly.
Now mind you, it was about 8pm when all this was realized and I still had to finish the cheesecake, bake it for 90 minutes, let it sit in the open oven water bath for 1 hour, and cool on the counter for 1 hour before putting it in the fridge overnight. Midnight bedtime the night before another full day of conferences, no thanks. I ended up baking it for the 90 minutes, letting it sit in the open oven for 30 minutes, and then put it straight in the fridge on a cooling rack and towel to sit overnight. And . . . it turned out beautifully!
I would definitely recommend this recipe! It was so delicious and perfect for the fall season. Enjoy!
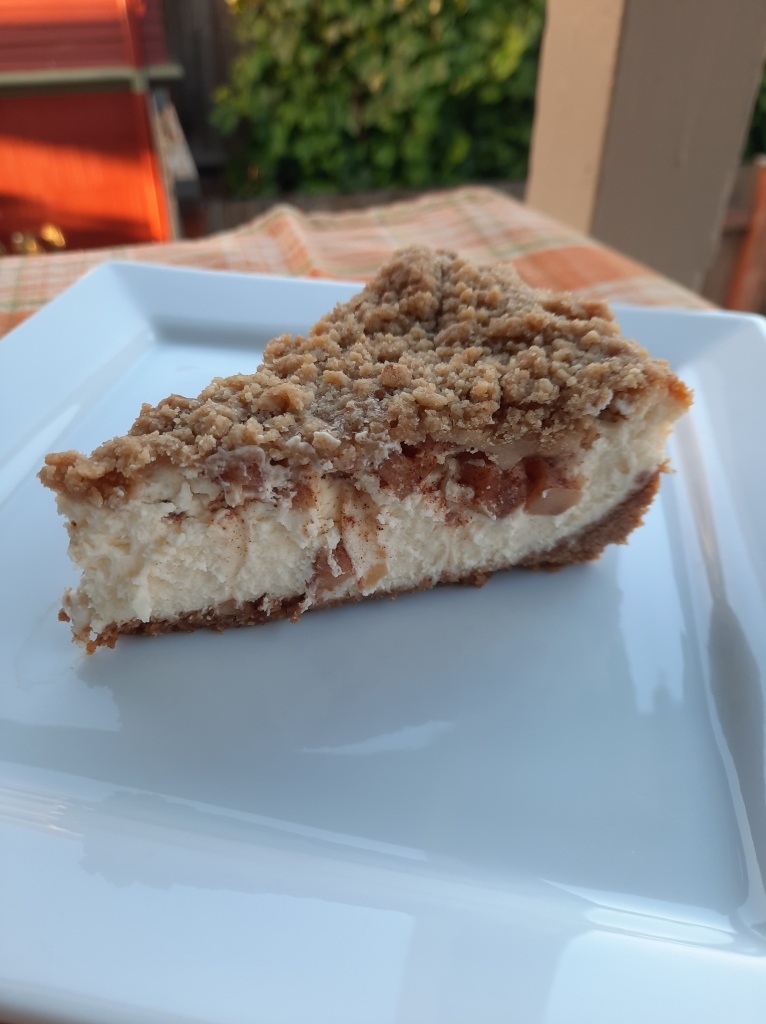
Apple Crumble Cheesecake
Source: Julie Marie Eats